Step-by-Step Guide to Installing IDS Alarm Systems for a Home in Somerset West
Before we start, a quick but important clarification. The Security Centre in Somerset West is a security systems wholesaler and technical supplier, not an installer. We supply professional-grade IDS alarm systems and components to installers across the Helderberg and support them with product knowledge and troubleshooting. Installation is always carried out by independent, qualified installers.
This guide is educational. It’s based on what we see daily from a wholesale and technical-support perspective — common planning mistakes, best-practice layouts, and questions installers are asked by homeowners. If you’re planning an alarm system for your home, this will help you understand how a proper IDS installation should be approached, and what to check before sign-off.
Why planning matters in Somerset West homes
Somerset West properties tend to fall into a few familiar patterns: freestanding homes with boundary walls, double-storey townhouses, and estates with shared access points. Add pets, strong afternoon sun, coastal wind, and load shedding into the mix, and alarm planning becomes less “plug and play” than people expect.
Most alarm issues don’t come from the IDS equipment itself. They come from poor planning before installation.
Step 1: Pre-installation planning (this is where most mistakes happen)
Before a single cable is run, your installer should walk the property and plan the system properly.
Key questions that should be answered upfront:
- Which areas must be armed at night while people are home?
- Are there pets moving freely inside?
- Which rooms receive direct sunlight during the day?
- How many hours of battery backup are required during load shedding?
- Is future expansion likely (garage, flatlet, beams, automation)?
From our experience supplying IDS systems in the Helderberg, under-sizing the system at this stage is one of the most expensive mistakes to fix later.
[PHOTO 1: Walk-through planning of a Somerset West home – identifying entry points and pet movement]
Step 2: Zone planning and logical layout
IDS alarm systems rely on clear, logical zone allocation. Each sensor should have a defined purpose and name.
Good zone planning typically separates:
- Entry points (doors and windows)
- Internal movement areas
- High-risk areas (passageways, stairwells)
- Night-arm vs full-arm zones
Poor zone naming like “Zone 3” or “Sensor 5” causes confusion during alarms and emergencies.
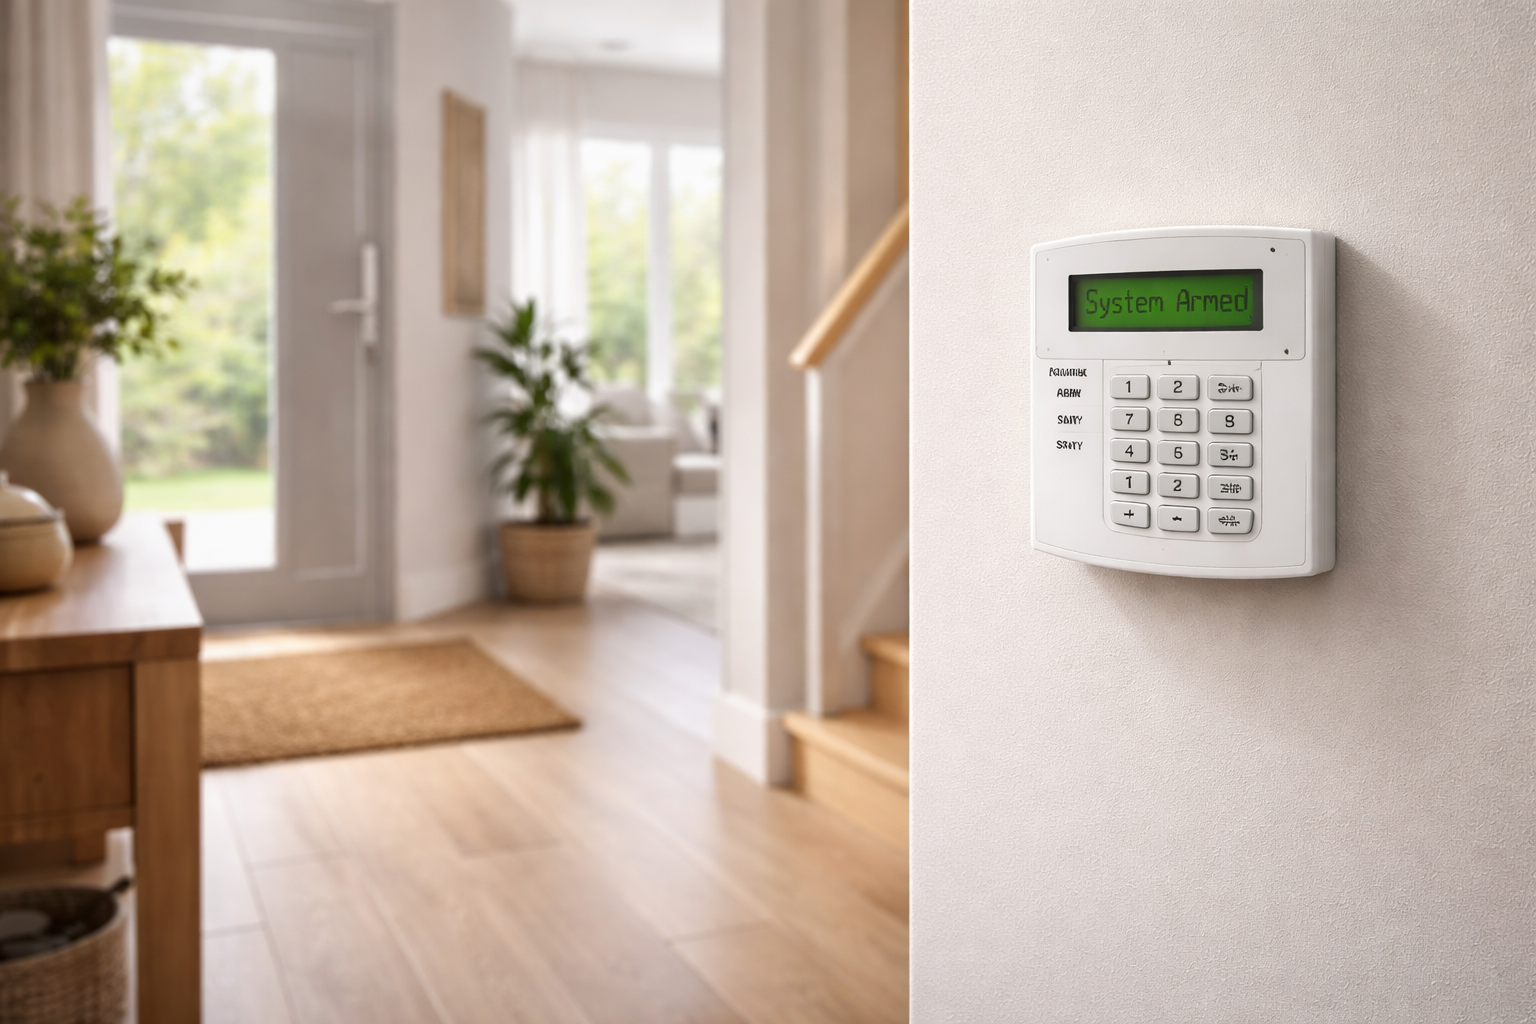
[PHOTO 2: IDS keypad showing clearly named zones for easy user understanding]
Step 3: Choosing the correct IDS control panel location
The control panel is the brain of the system. It should be:
- Hidden but accessible for servicing
- Mounted on a solid surface
- Close to a reliable power source
- Protected from tampering
Cupboards, linen closets, or secure utility areas are common choices in Somerset West homes.
[PHOTO 3: Control panel mounted inside a secure cupboard with tidy wiring and battery access]
Step 4: Keypad placement (visibility vs security)
Keypads should be easy to reach when entering the home but not directly visible from outside.
Best practice:
- Near the main entrance, but offset from the door
- At a comfortable height
- Well-lit, but not in direct sunlight
[PHOTO 4: Correct keypad height and placement away from direct door access]
Step 5: Installing door and window contacts correctly
Reed switches on doors and windows are simple components — and often badly installed.
Common best practices:
- Ensure perfect alignment between magnet and switch
- Secure wiring inside frames, not exposed
- Test every opening individually
Misaligned contacts are a frequent cause of false alarms we hear about from installers.
[PHOTO 5: Correctly aligned reed switch on an aluminium door frame]
Step 6: PIR sensor placement (pets, sun and airflow matter)
Passive Infrared Sensors (PIRs) must be placed with care.
Things your installer should avoid:
- Facing large windows with direct sunlight
- Pointing at heaters or air-conditioning vents
- Mounting too low in pet homes
For homes with animals, pet-immune PIRs and correct height placement are essential.
[PHOTO 6: PIR positioned above pet height and angled away from windows]
Step 7: Siren and strobe positioning
Sirens and strobes are both deterrents and alerts.
Best practice includes:
- Internal siren placed centrally for maximum sound distribution
- External siren/strobe high enough to prevent tampering
- Secure cabling and tamper protection enabled
[PHOTO 7: External siren mounted high with tamper protection]
Step 8: Power supply, battery backup and load shedding
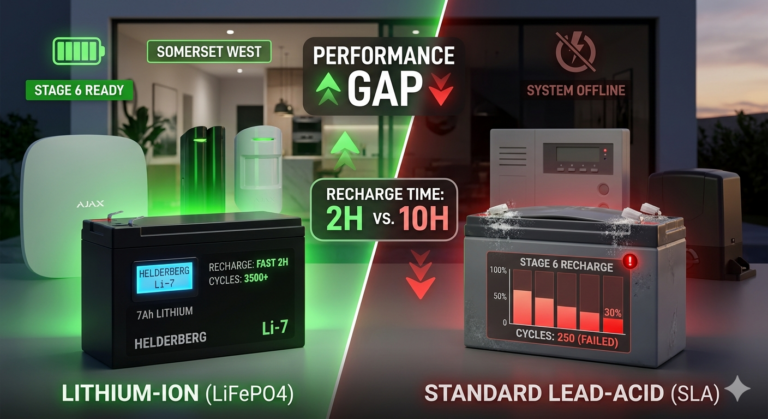
Load shedding has made power planning non-negotiable.
An IDS system should include:
- Correctly sized backup battery
- Proper charging configuration
- Surge protection where possible
Undersized batteries are one of the most common problems we see when systems are supplied without proper guidance.
[PHOTO 8: Backup battery installed with correct capacity and secure mounting]
Step 9: Wiring quality and finish
Neat wiring isn’t just about looks — it’s about reliability.
Good installations feature:
- Secured cables
- No exposed joins
- Proper strain relief
- Clear labelling inside the panel
[PHOTO 9: Tidy internal wiring inside an IDS control panel]
Step 10: Testing, commissioning and handover
Before the installer leaves, the system should be fully tested.
This includes:
- Walk-testing all PIRs
- Opening and closing every door and window
- Testing panic buttons
- Confirming entry and exit delays
- Verifying battery operation
Homeowners should be shown how to arm, disarm, and respond to alarms.
[PHOTO 10: Installer performing final walk test before handover]
Common pitfalls we see in Somerset West homes
Based on years of wholesale support, these are the issues that come up repeatedly:
- PIRs facing afternoon sun
- Pet-immune sensors mounted too low
- Zones not clearly named
- Batteries too small for load shedding
- Exposed or untidy cabling
- Reed switches slightly misaligned
- Control panels mounted in obvious locations
- No surge protection
- No proper user training at handover
- Systems installed with no allowance for future expansion
Most of these problems are avoidable with correct planning.
Can I buy IDS alarm systems locally in Somerset West?
Yes. Professional IDS alarm systems and components are available locally through The Security Centre, a Somerset West-based wholesaler supplying installers across the Helderberg.
You can view the range of IDS alarm systems and components here:
👉 https://thesecuritycentre.co.za/?product_cat=alarm-systems/
The team can assist with product selection and system design advice, and recommend working with a qualified installer for installation.
When should a professional installer always be used?
IDS systems are professional security products. A qualified installer should always handle:
- System wiring
- Mains power connections
- Sensor calibration
- Final commissioning
This ensures reliability, compliance, and long-term performance.
Final thoughts
A well-installed IDS alarm system starts with good planning, not rushed installation. Understanding how zones, sensors, power, and layout work together helps homeowners ask the right questions and avoid common mistakes.
If you’re planning an IDS alarm system for your Somerset West home, The Security Centre can assist with choosing the right components and advising on system design, while supporting the installer ecosystem that keeps Helderberg properties secure.